Slab top table
This is included here as a reminder to me: how is it that such a simple thing requires so many steps?
The idea was to build the simplest 3 legged base, without detailed joinery, and without having the slab nearby – so mortising the legs directly into the slab wouldn’t do…..
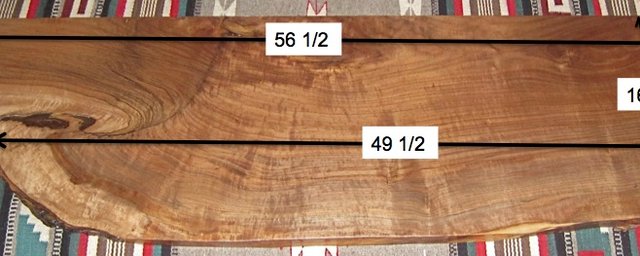
2″ live-sawn Claro Walnut slab top, 3 Walnut legs, a piece of Baltic Birch ply, some hardware, Livos oil finish…
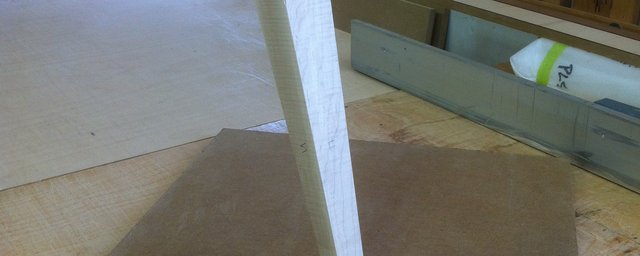
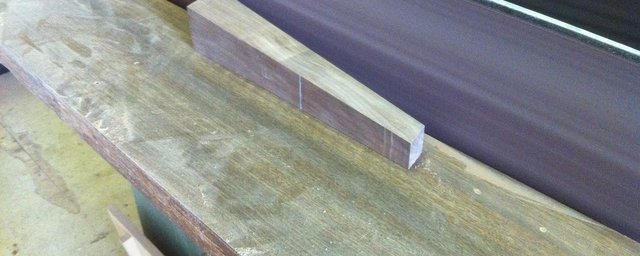
1-Leg mock-up
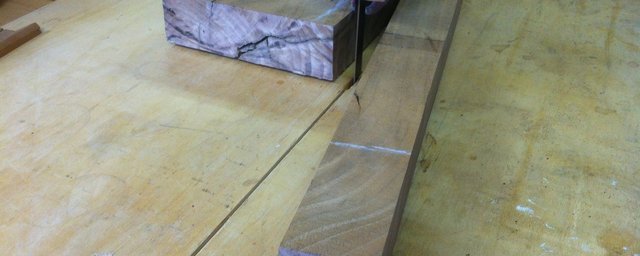
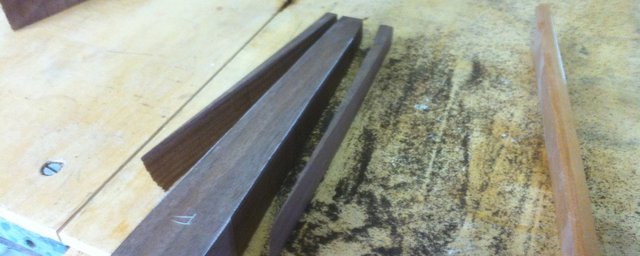
2-Bandsaw legs

3-Thickness legs, square 4 sides.
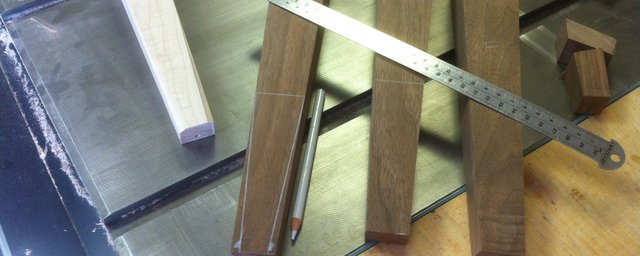
4-Cut top angle of legs
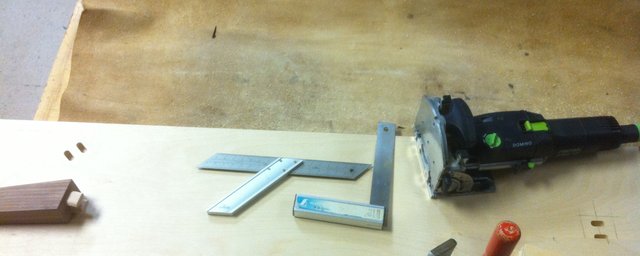
5-Domino legs

6-Bandsaw rear taper
7-Bandsaw side tapers of legs
8- Beltsand faces

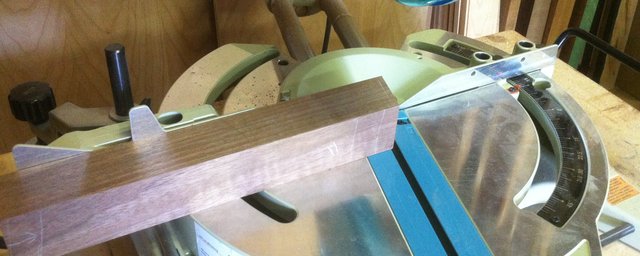
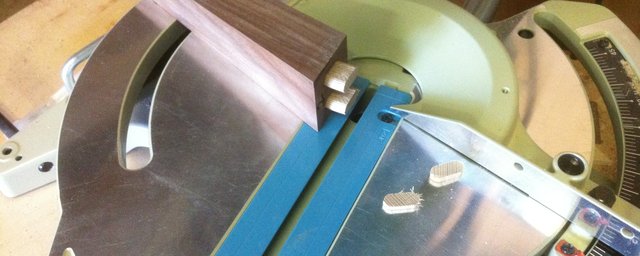
9-Compound cut length at leg bottoms.
10-Chamfer layout, white pencil.

11-Chamfer sand

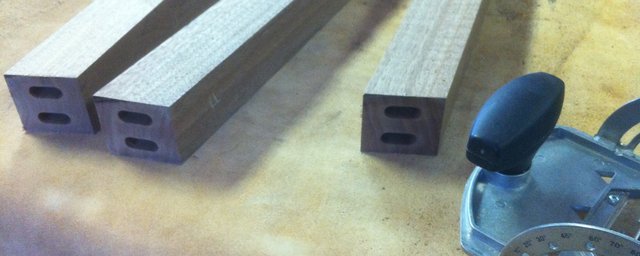
12-Legs ready
13-Top plate Domino
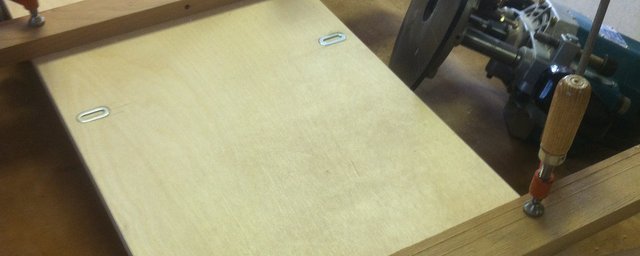
14-Top plate expansion washers
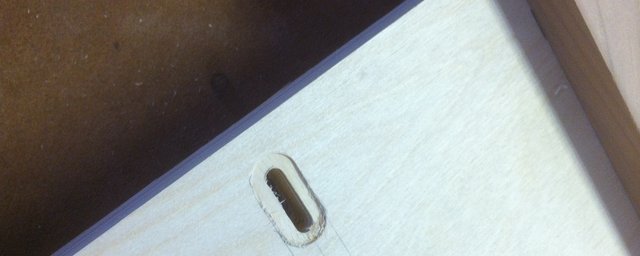
15-Top plate washers, 2nd slot.
16-Dominos trim

17-Leg bolts drill
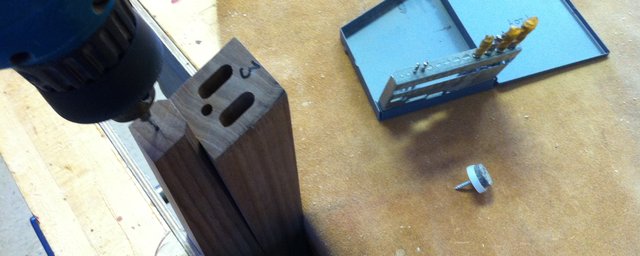
18-Feet pre-drill
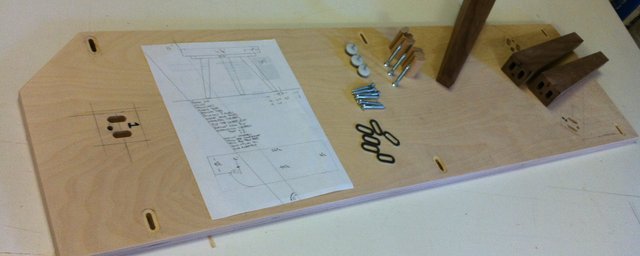
19-Requires assembly
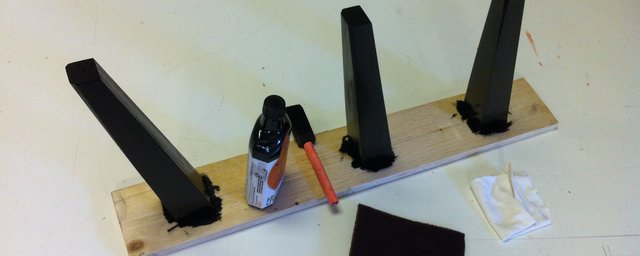
20-Hand sanding, followed by oil finish
21-Claro walnut slab