5 – Cherry wall panels
The first part of the eventual installation on site will be to panel a wall in Cherry veneers . It is straightforward, just there are lots of steps.
1st step: Get a custom lay-up for the ply sheets, they all have to live happily together, which can only be done if all the Cherry comes from the same veneer flitch (bundle of veneer, from one log). About a two week wait, then:
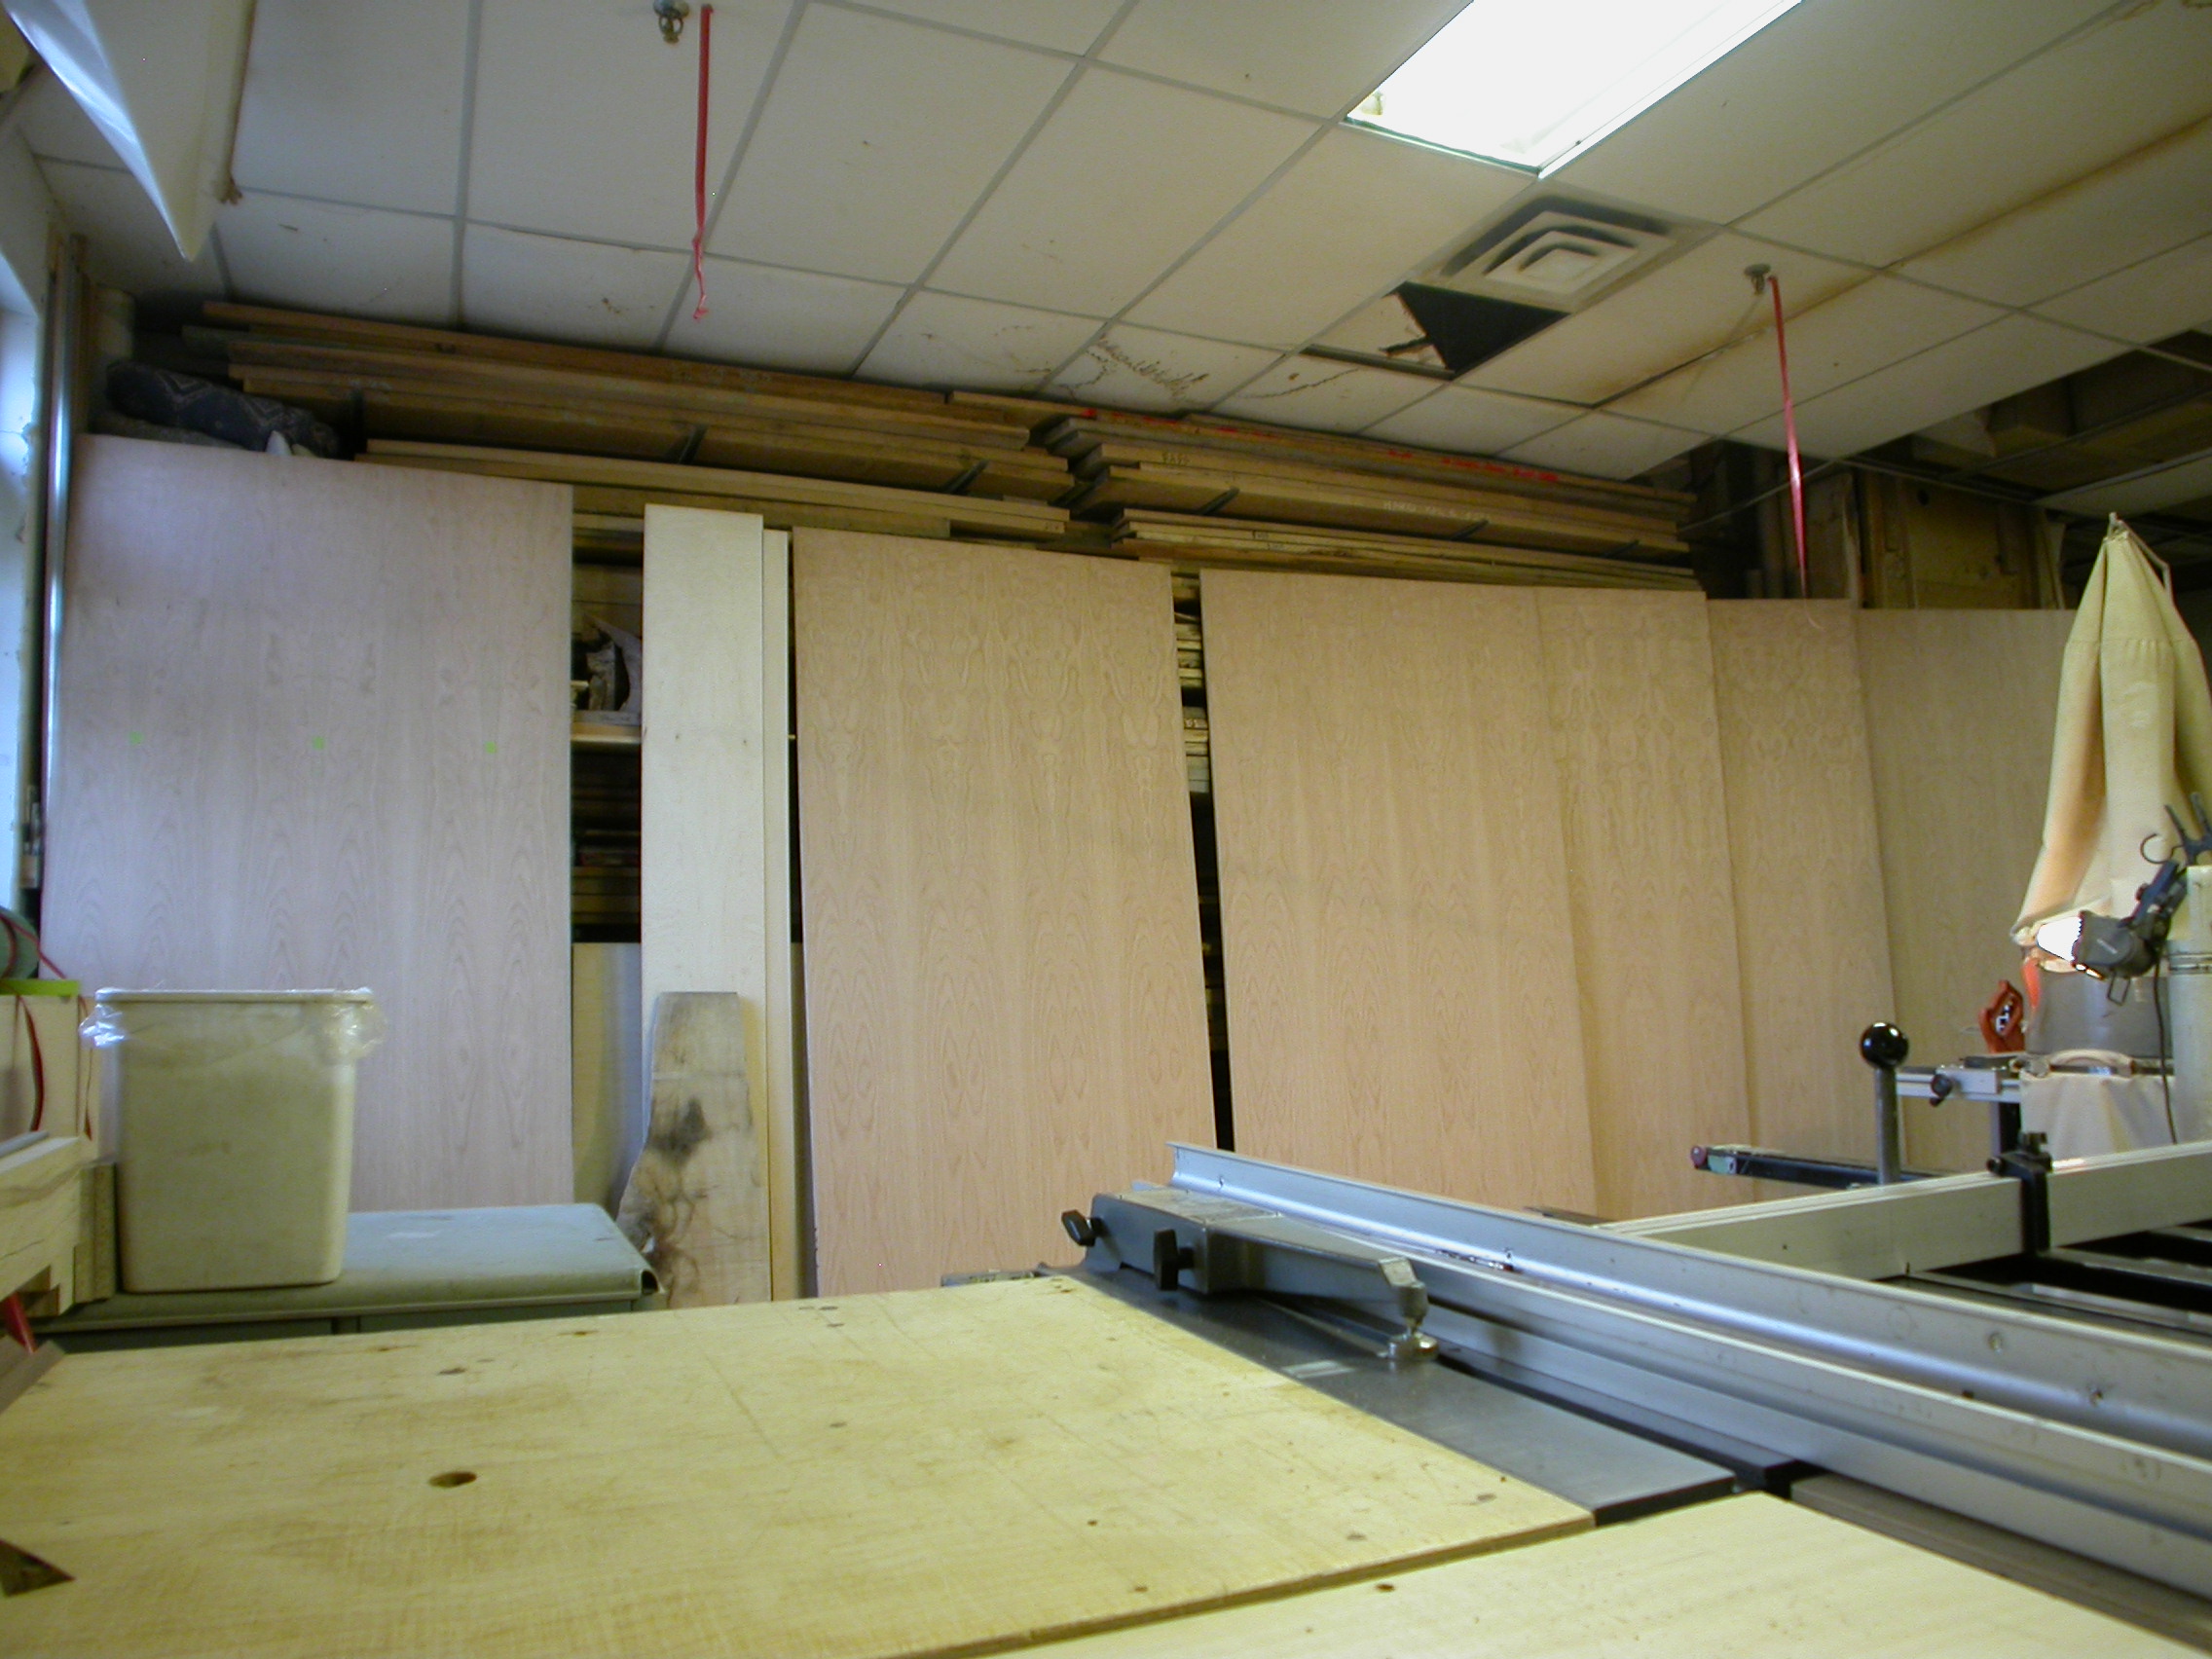
1st photo: Spread the panels out, decide what goes where – they won’t all be the same width, since the wall panels will follow the sliding door layout below, rather picky. And which end is up? Rather different effects, top or bottom.
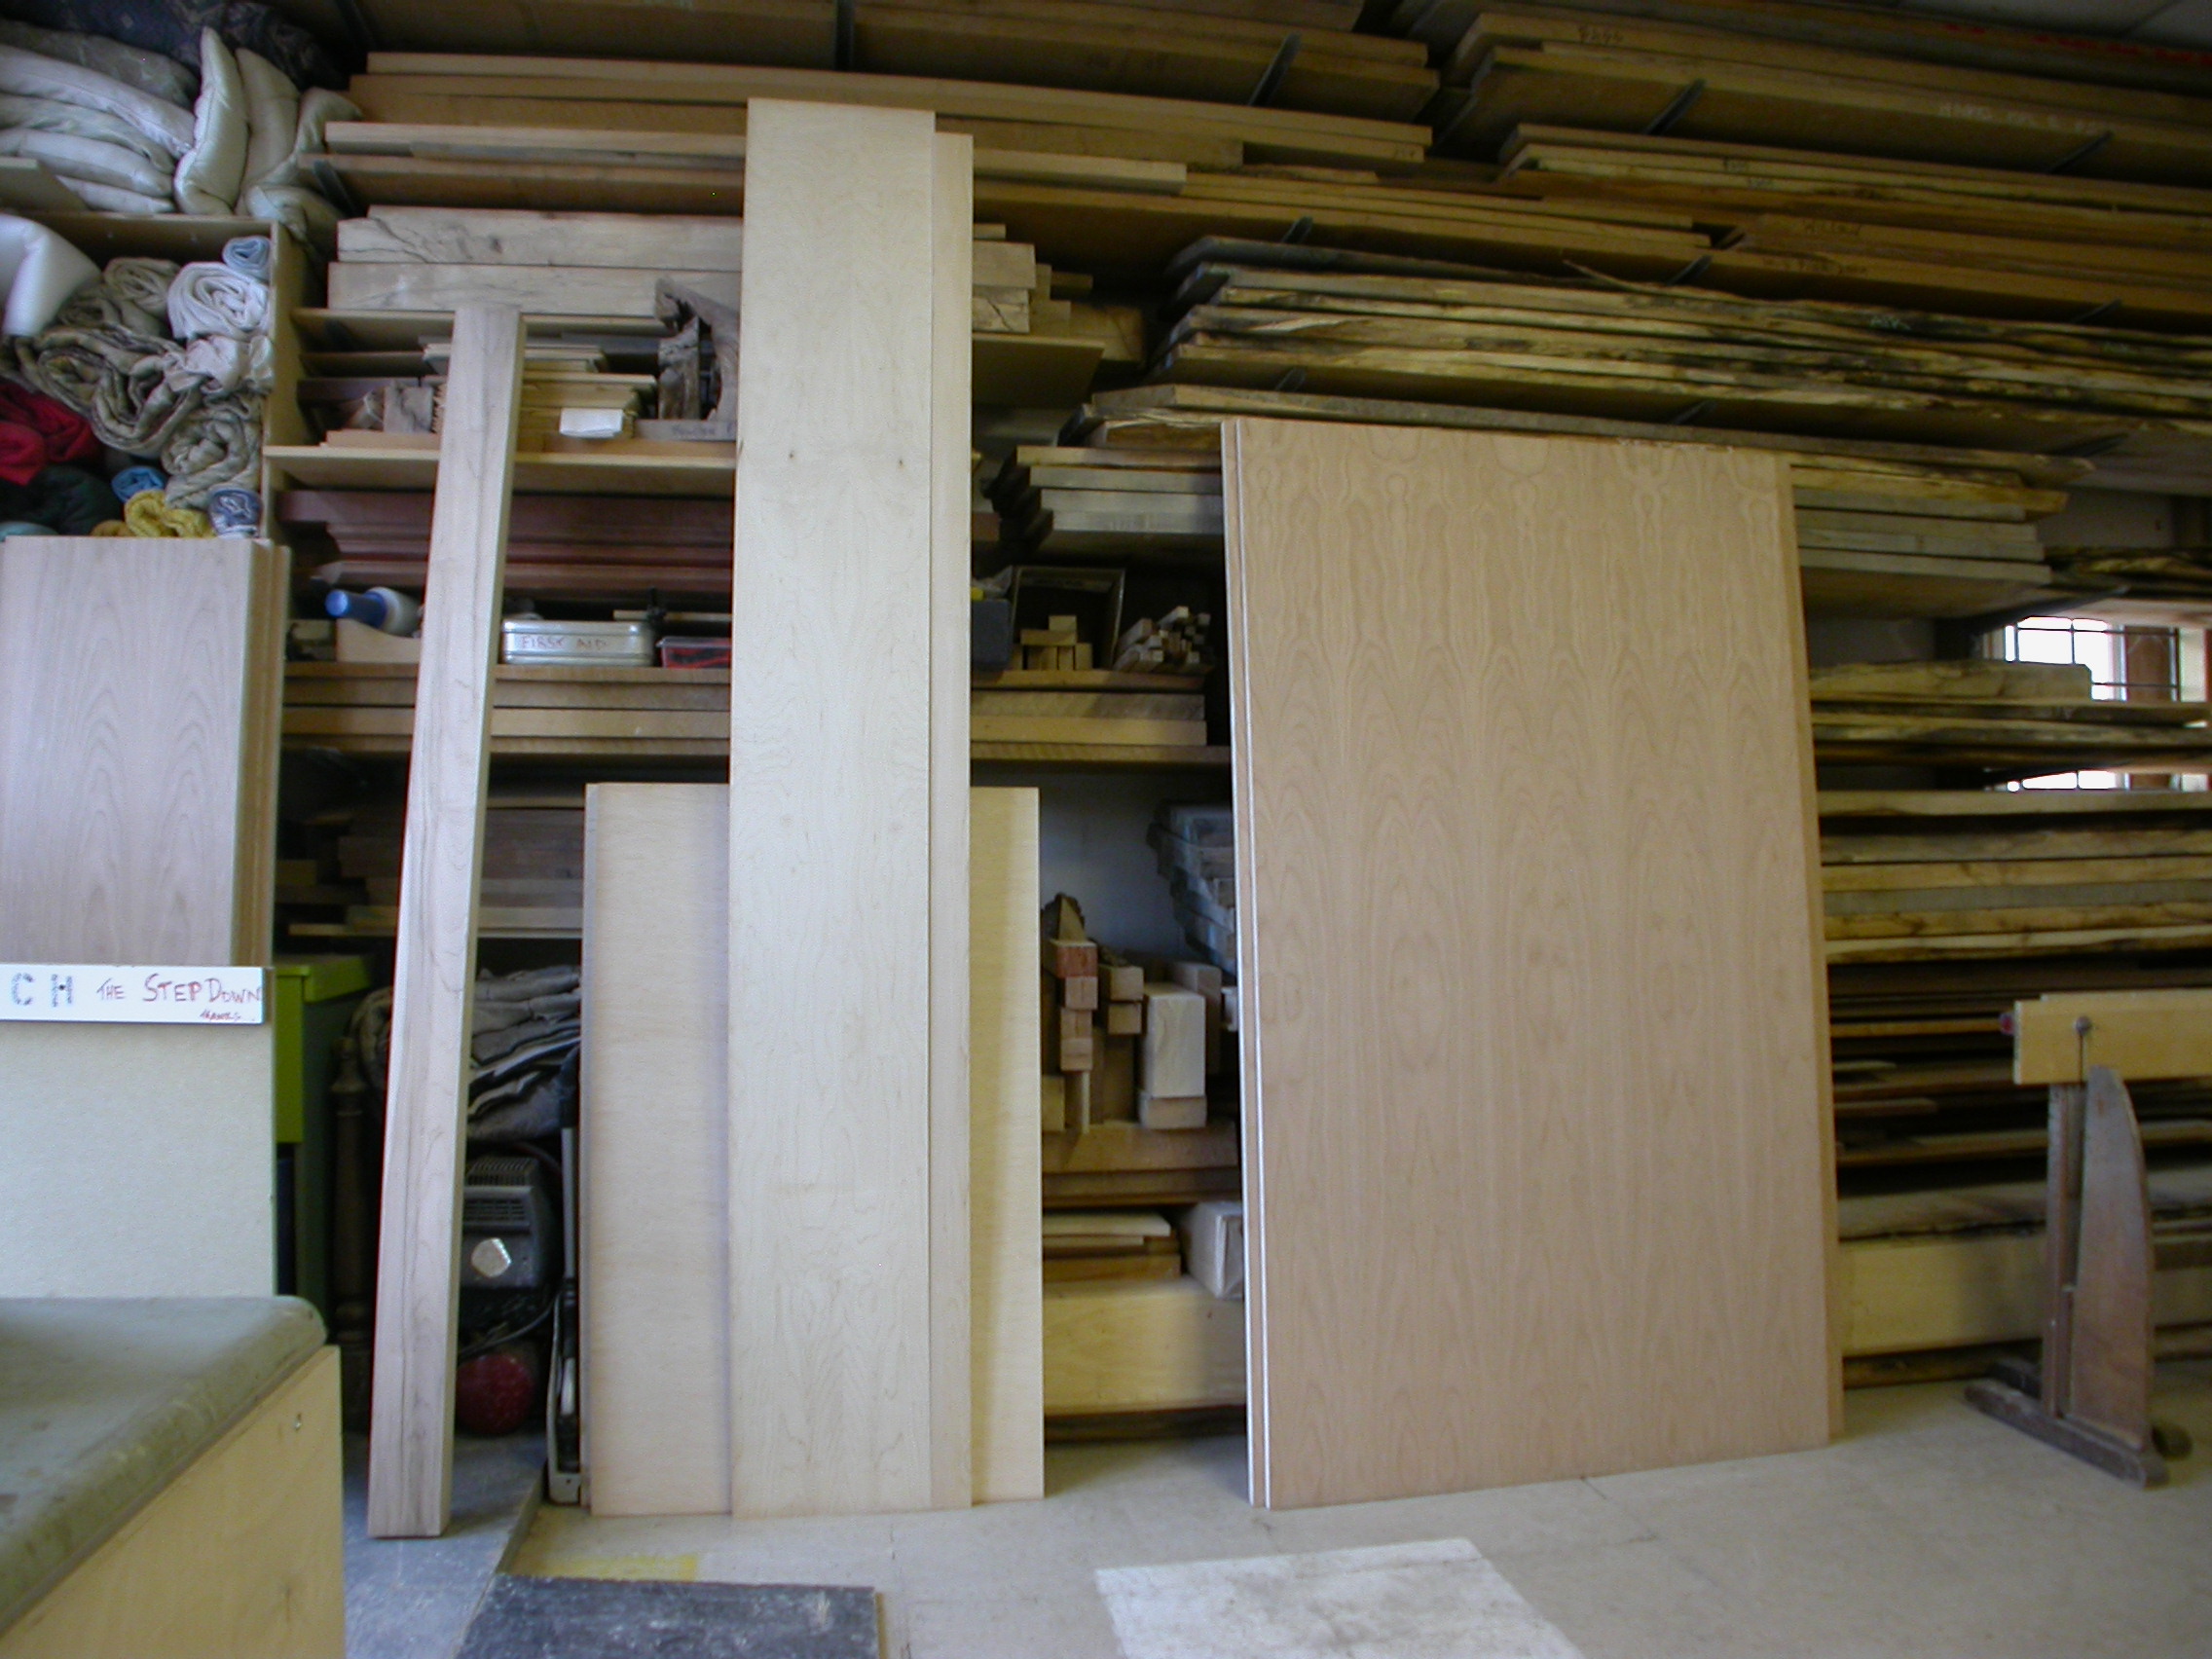
2nd photo: Layout has been done, Cherry panels (on right in a stack) have been cut to rough length and exact width. They don’t look like much in the unfinished state, but 3 coats of polished Livos oils will bring out a thing or two….
3rd: Glue up the edges – this is needed because the best look comes with the installed panels being slightly (3mm) separated from each other vertically, and aligned with splines between them. It’s also more effective to get a flat wall that way, without struggling to get the panels flush to each other over a 6′ height. The manual glue-up for edging seems time-consuming (did I hear medieval?), but isn’t so bad when 8 edges are to be done, and a system is rolling. For each of the 3 main materials (Cherry, Walnut and Maple) the glue is coloured to match, so 3 glue bottles are going at all times. Seems obsessive, but worthwhile in the long run.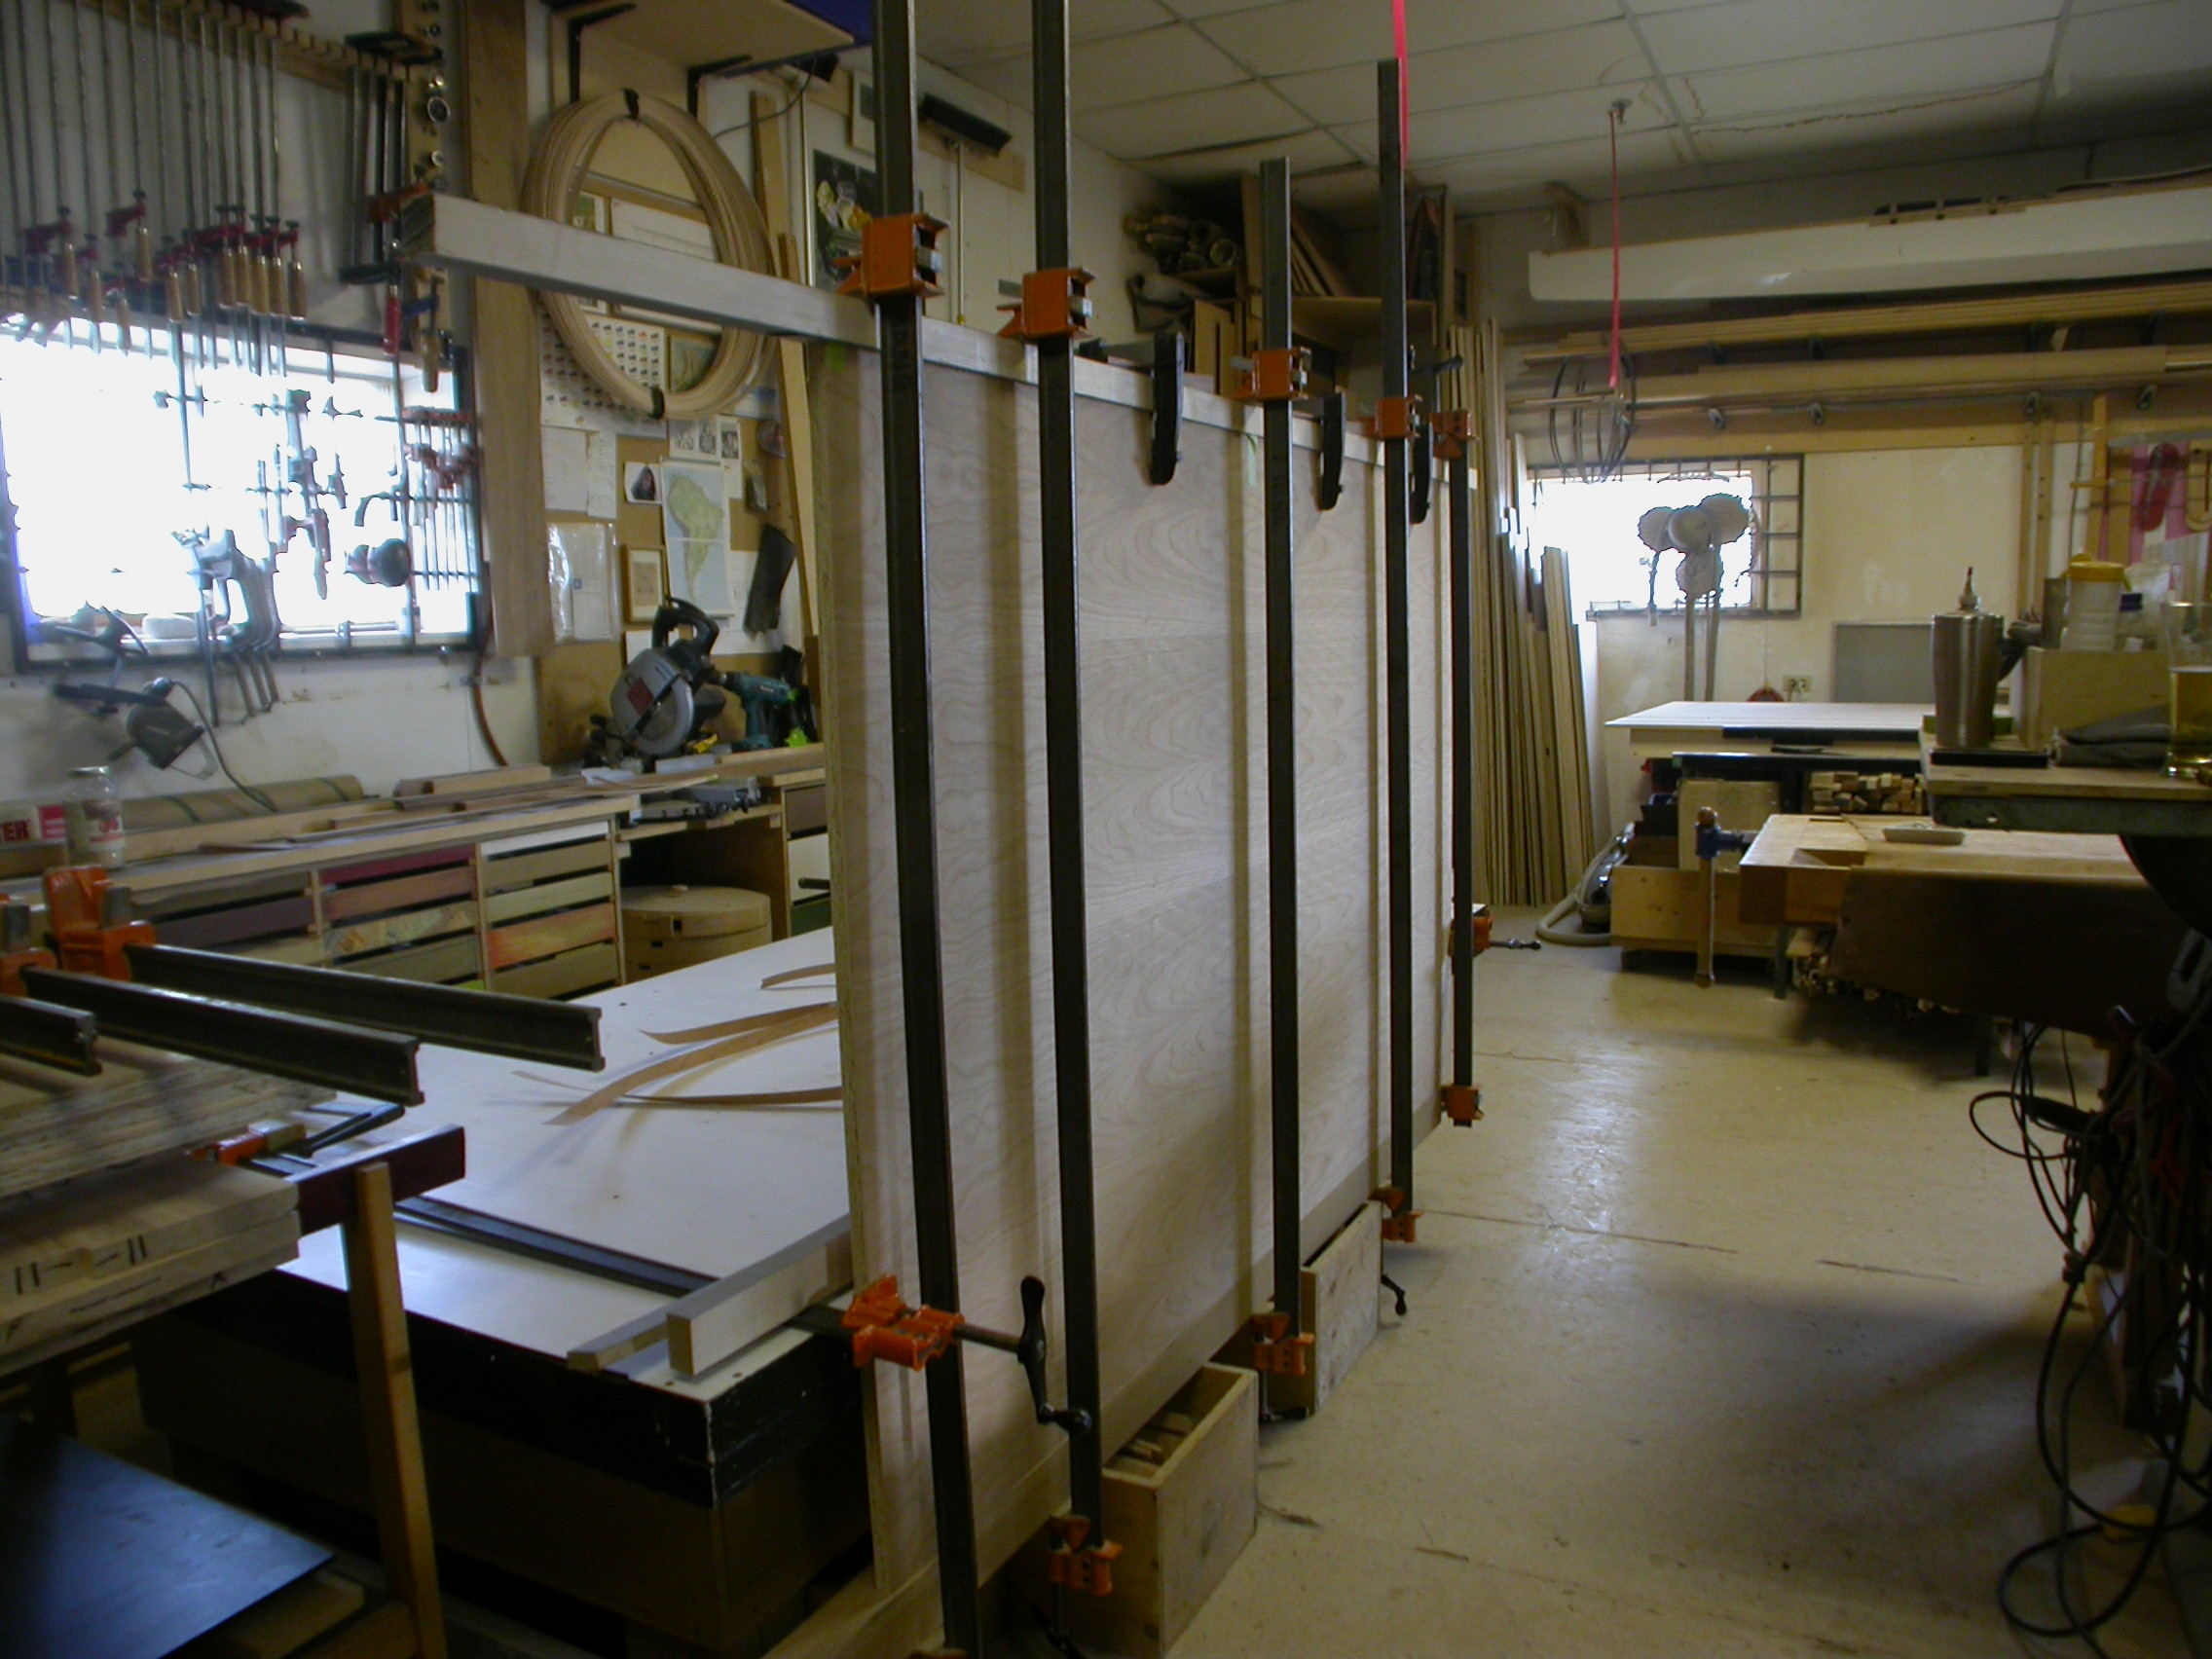
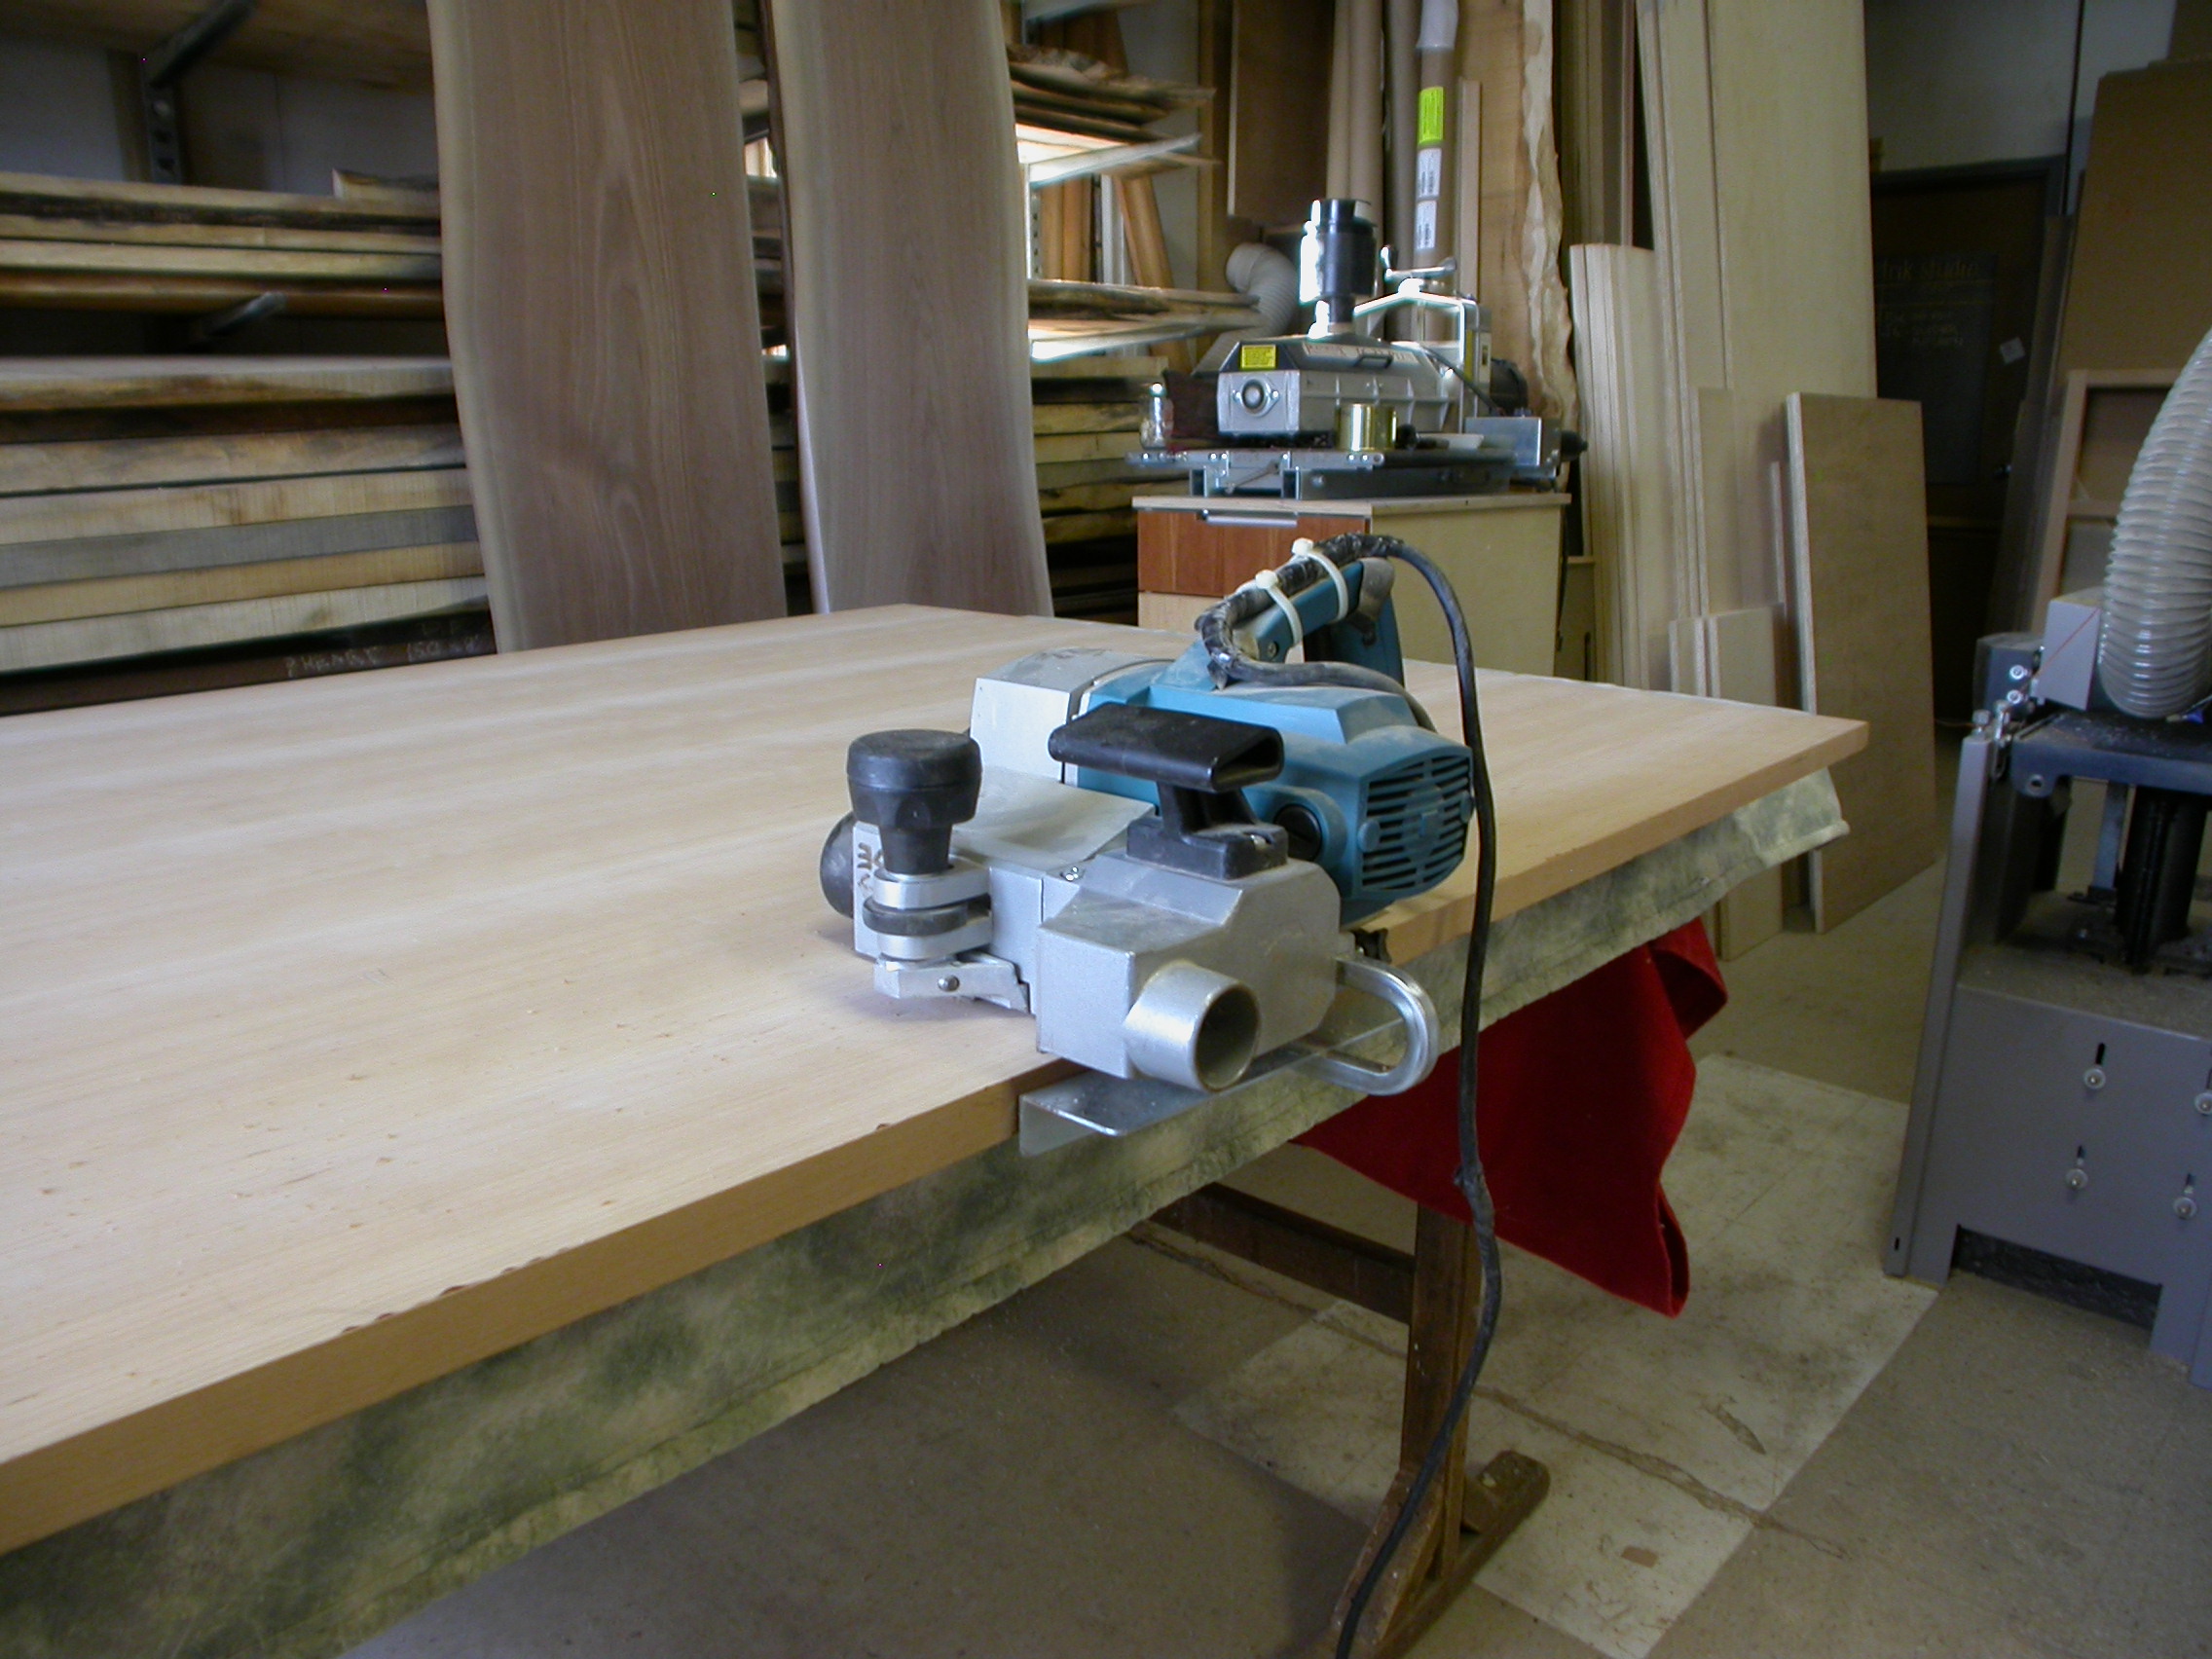
4th: Edge trimming.
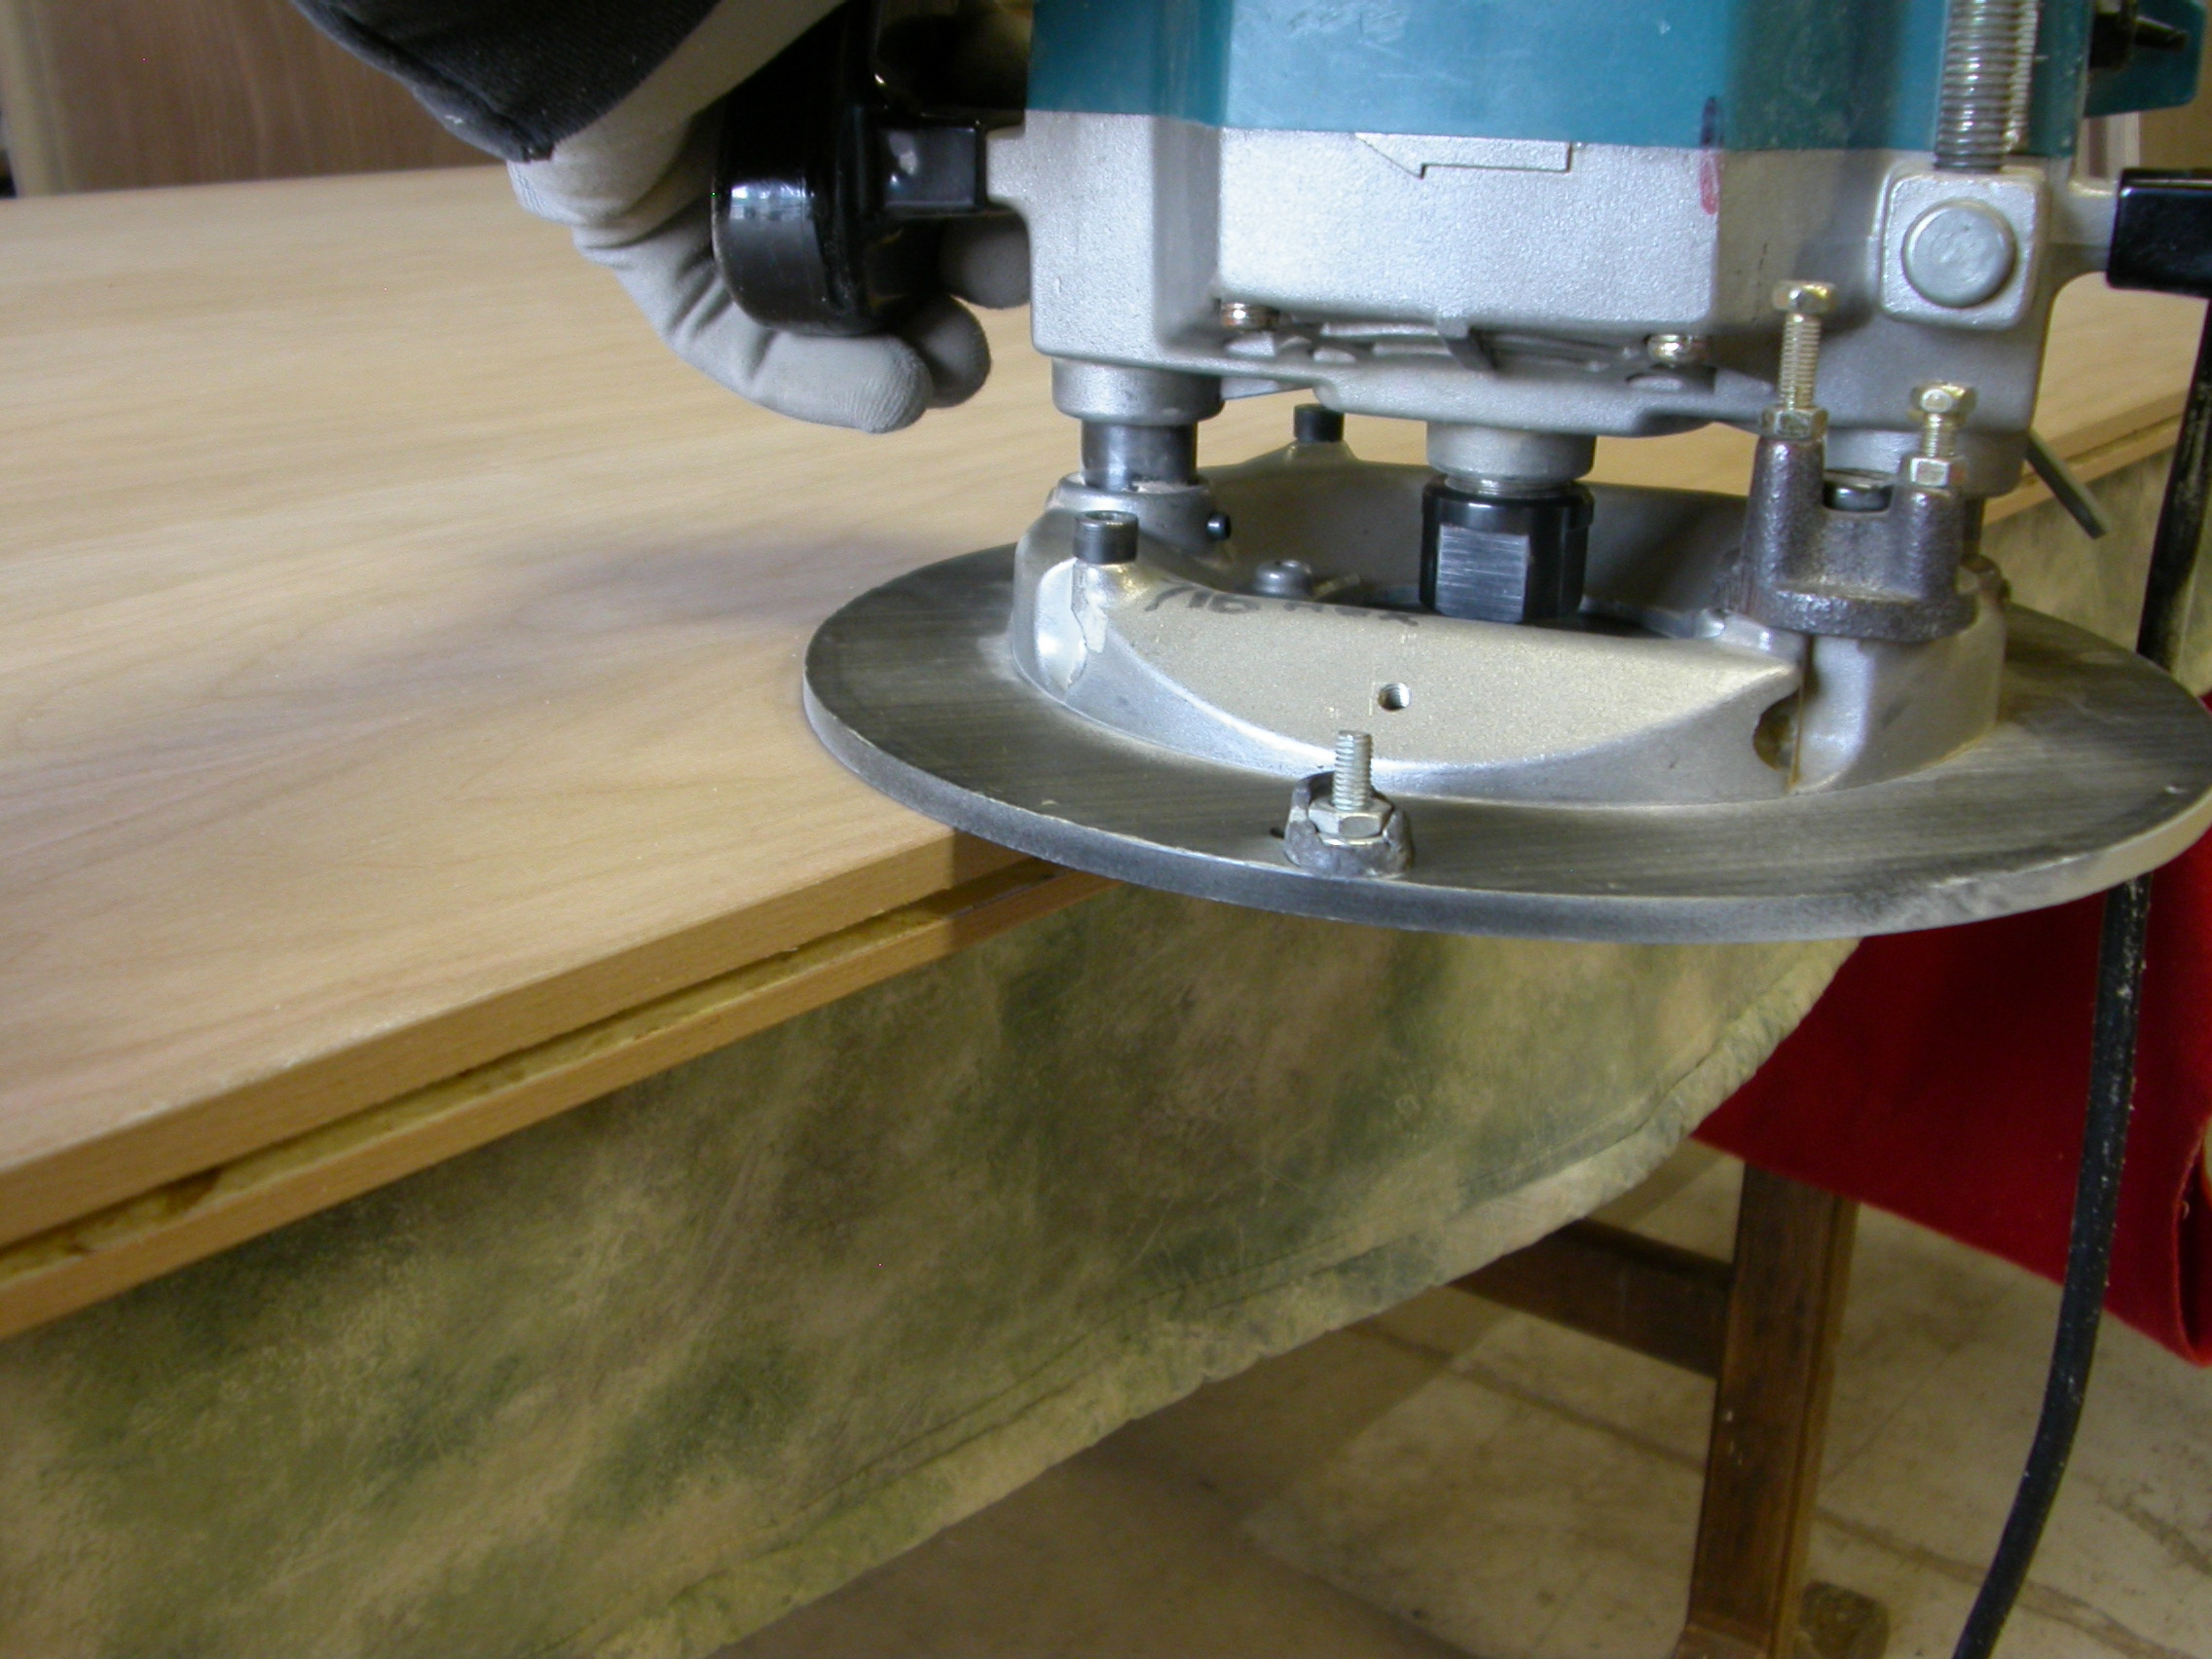
5th: Routing dadoes for the splines, 5 mm high by 10 mm deep. Shows the panel core: a product called NovaCore, strand oriented middle section with Fuma crossbanding under the Cherry veneers. Provides a lighter panel, which is relatively flat – not as flat as particle-core, but that’s a bad word around here….
6th: Milling the splines at 5mm thickness – using an Ash block with 4 rare earth magnets to provide the pressure against the fence.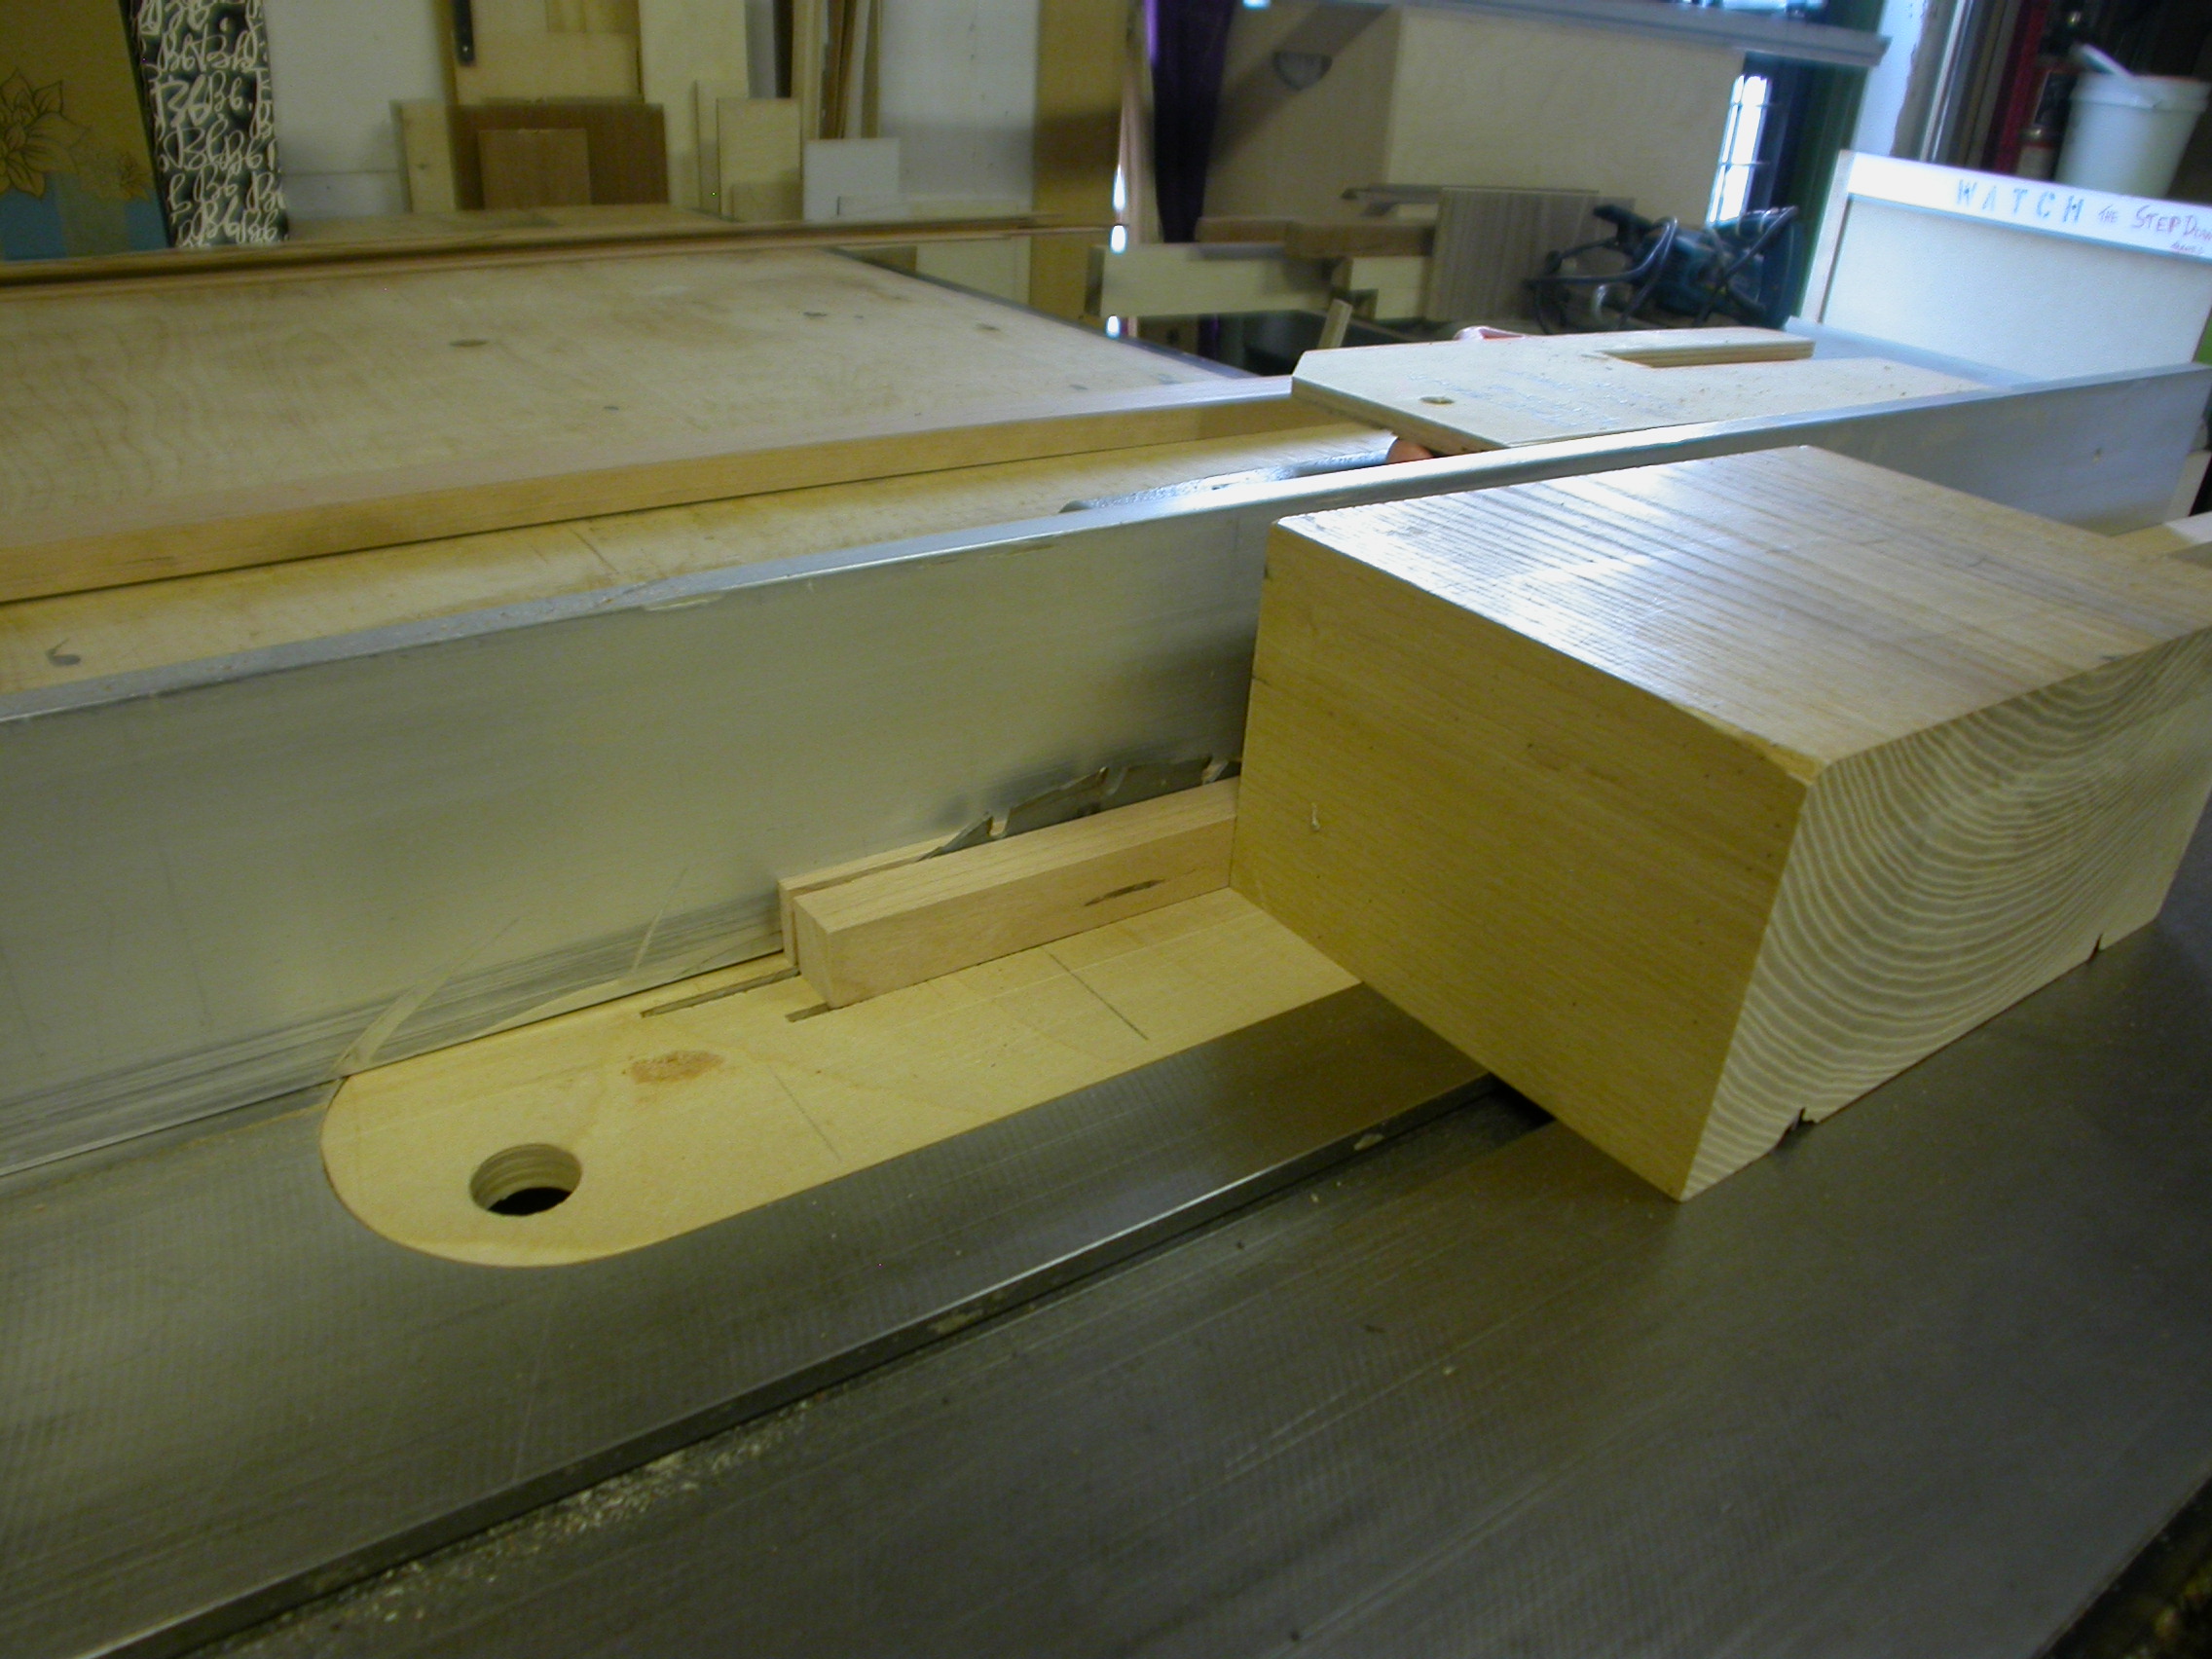
7th: Cutting the wall panels to final length.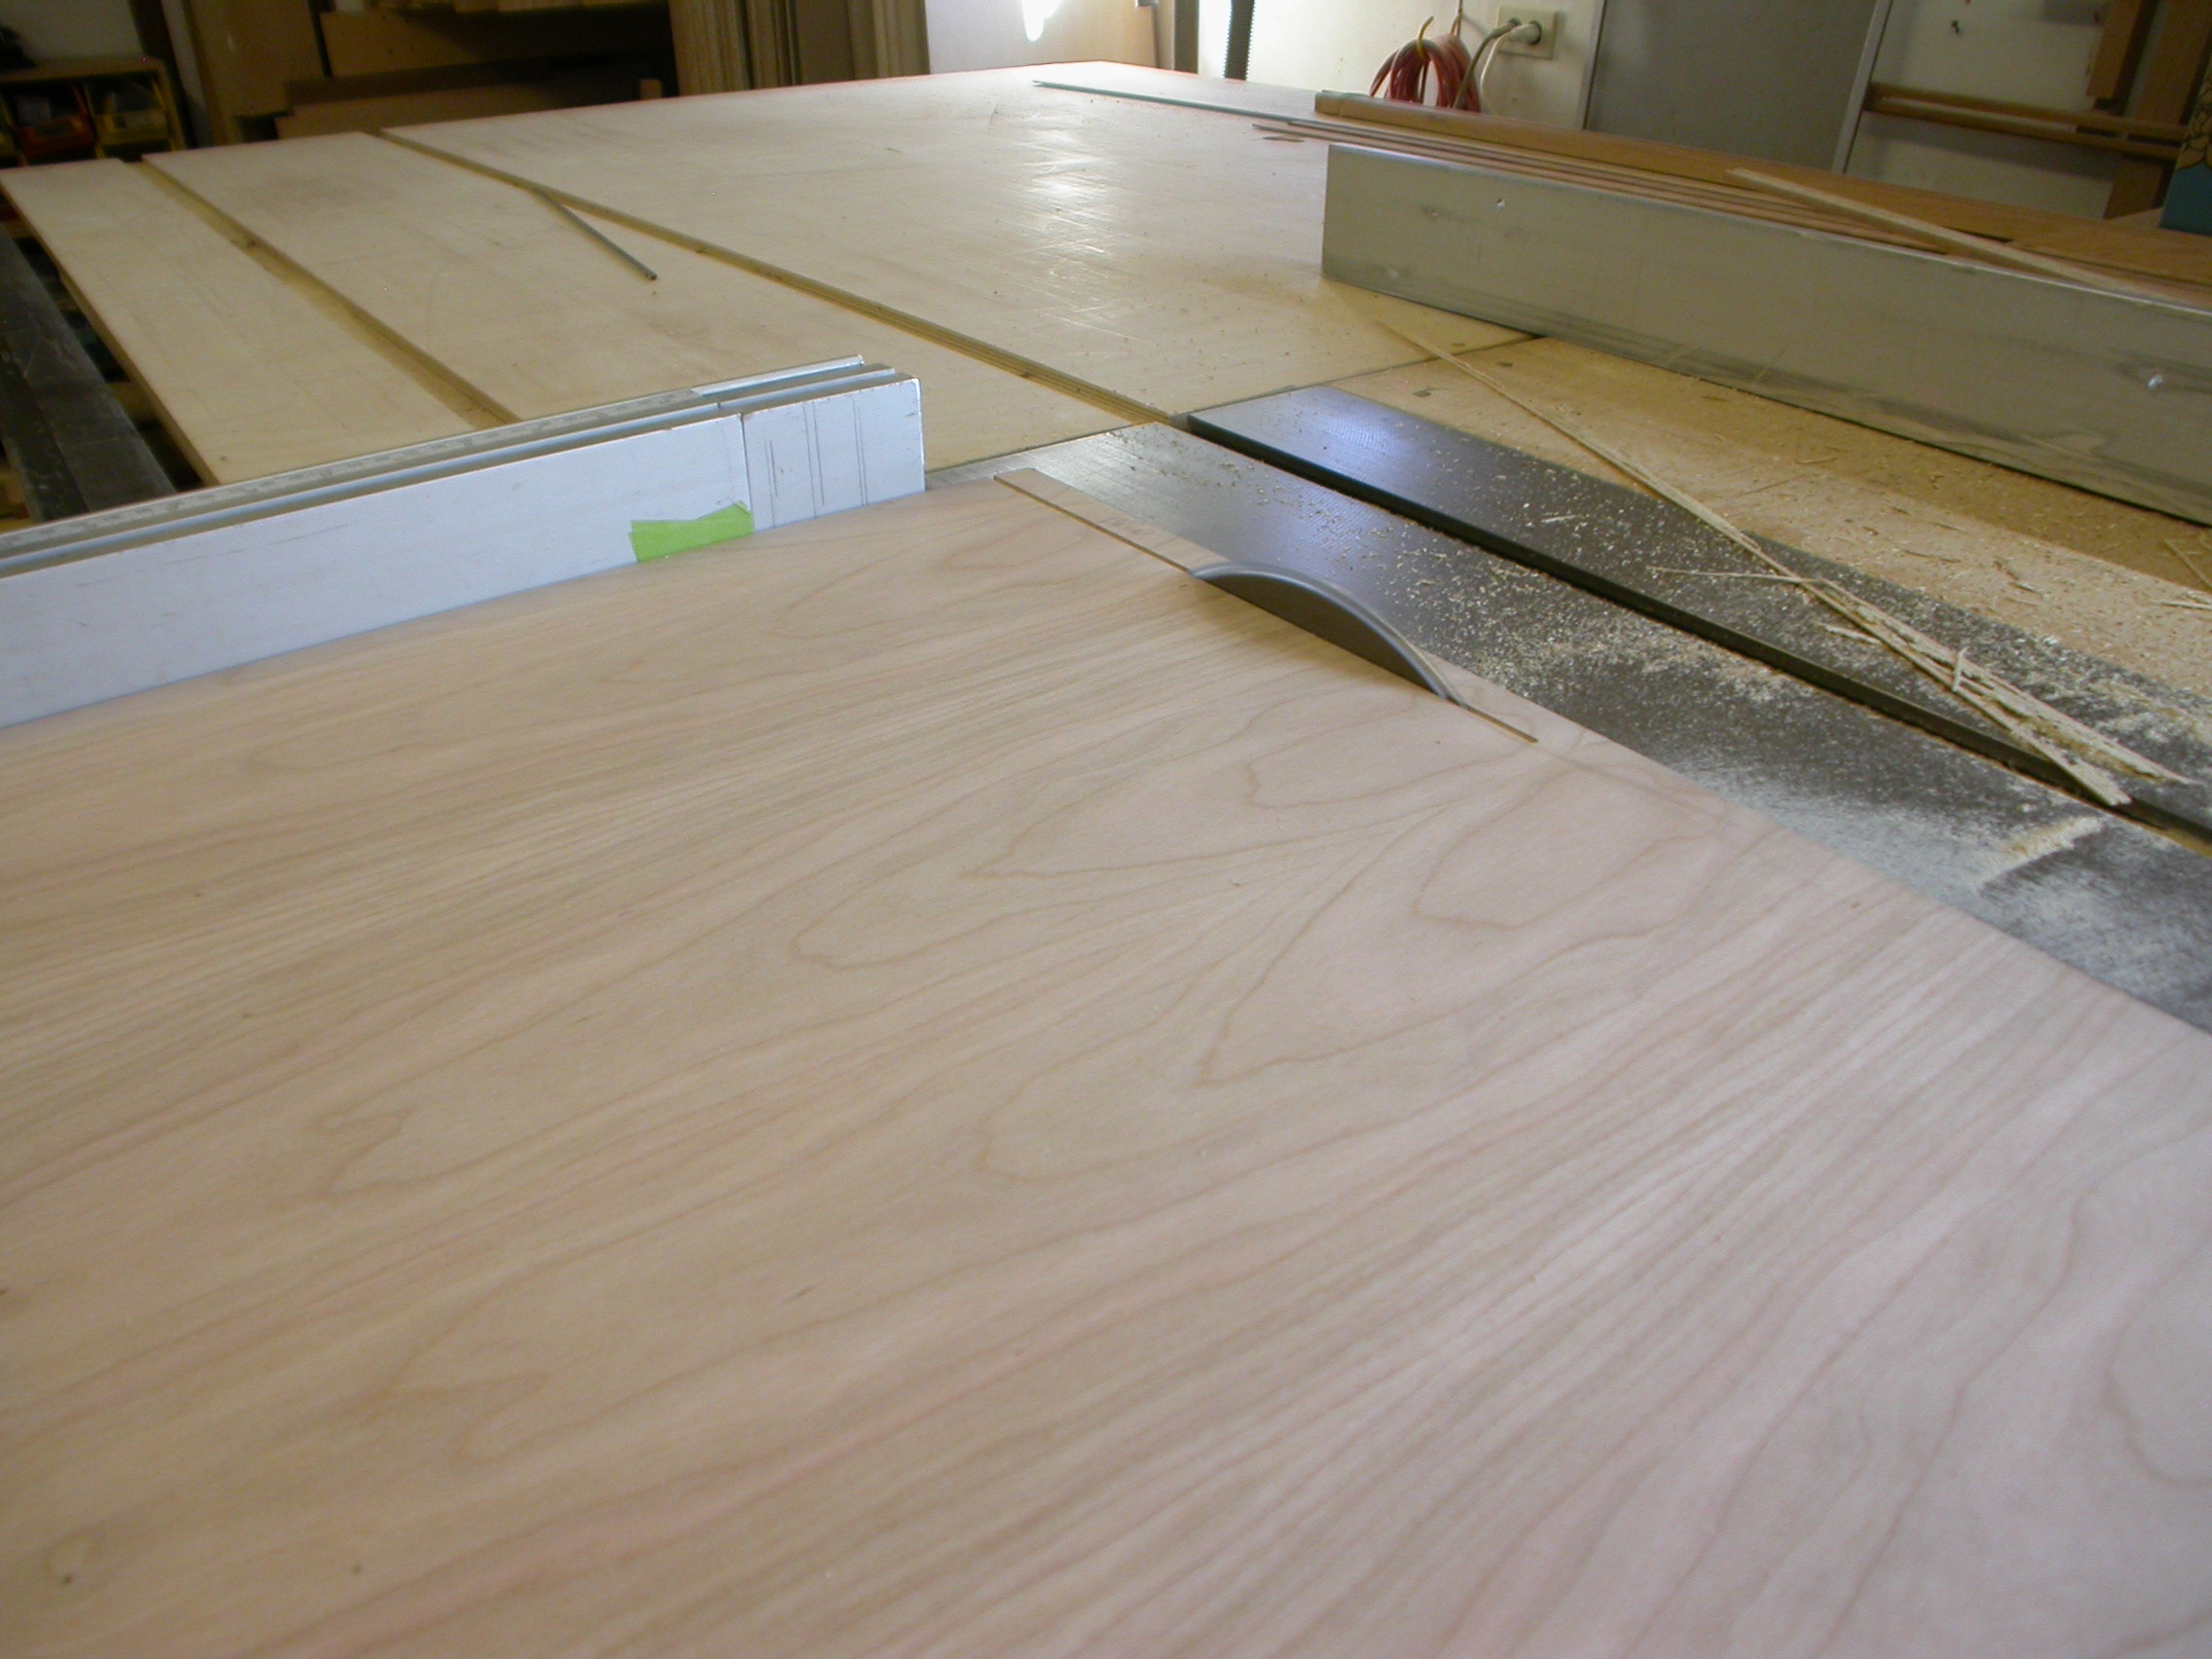
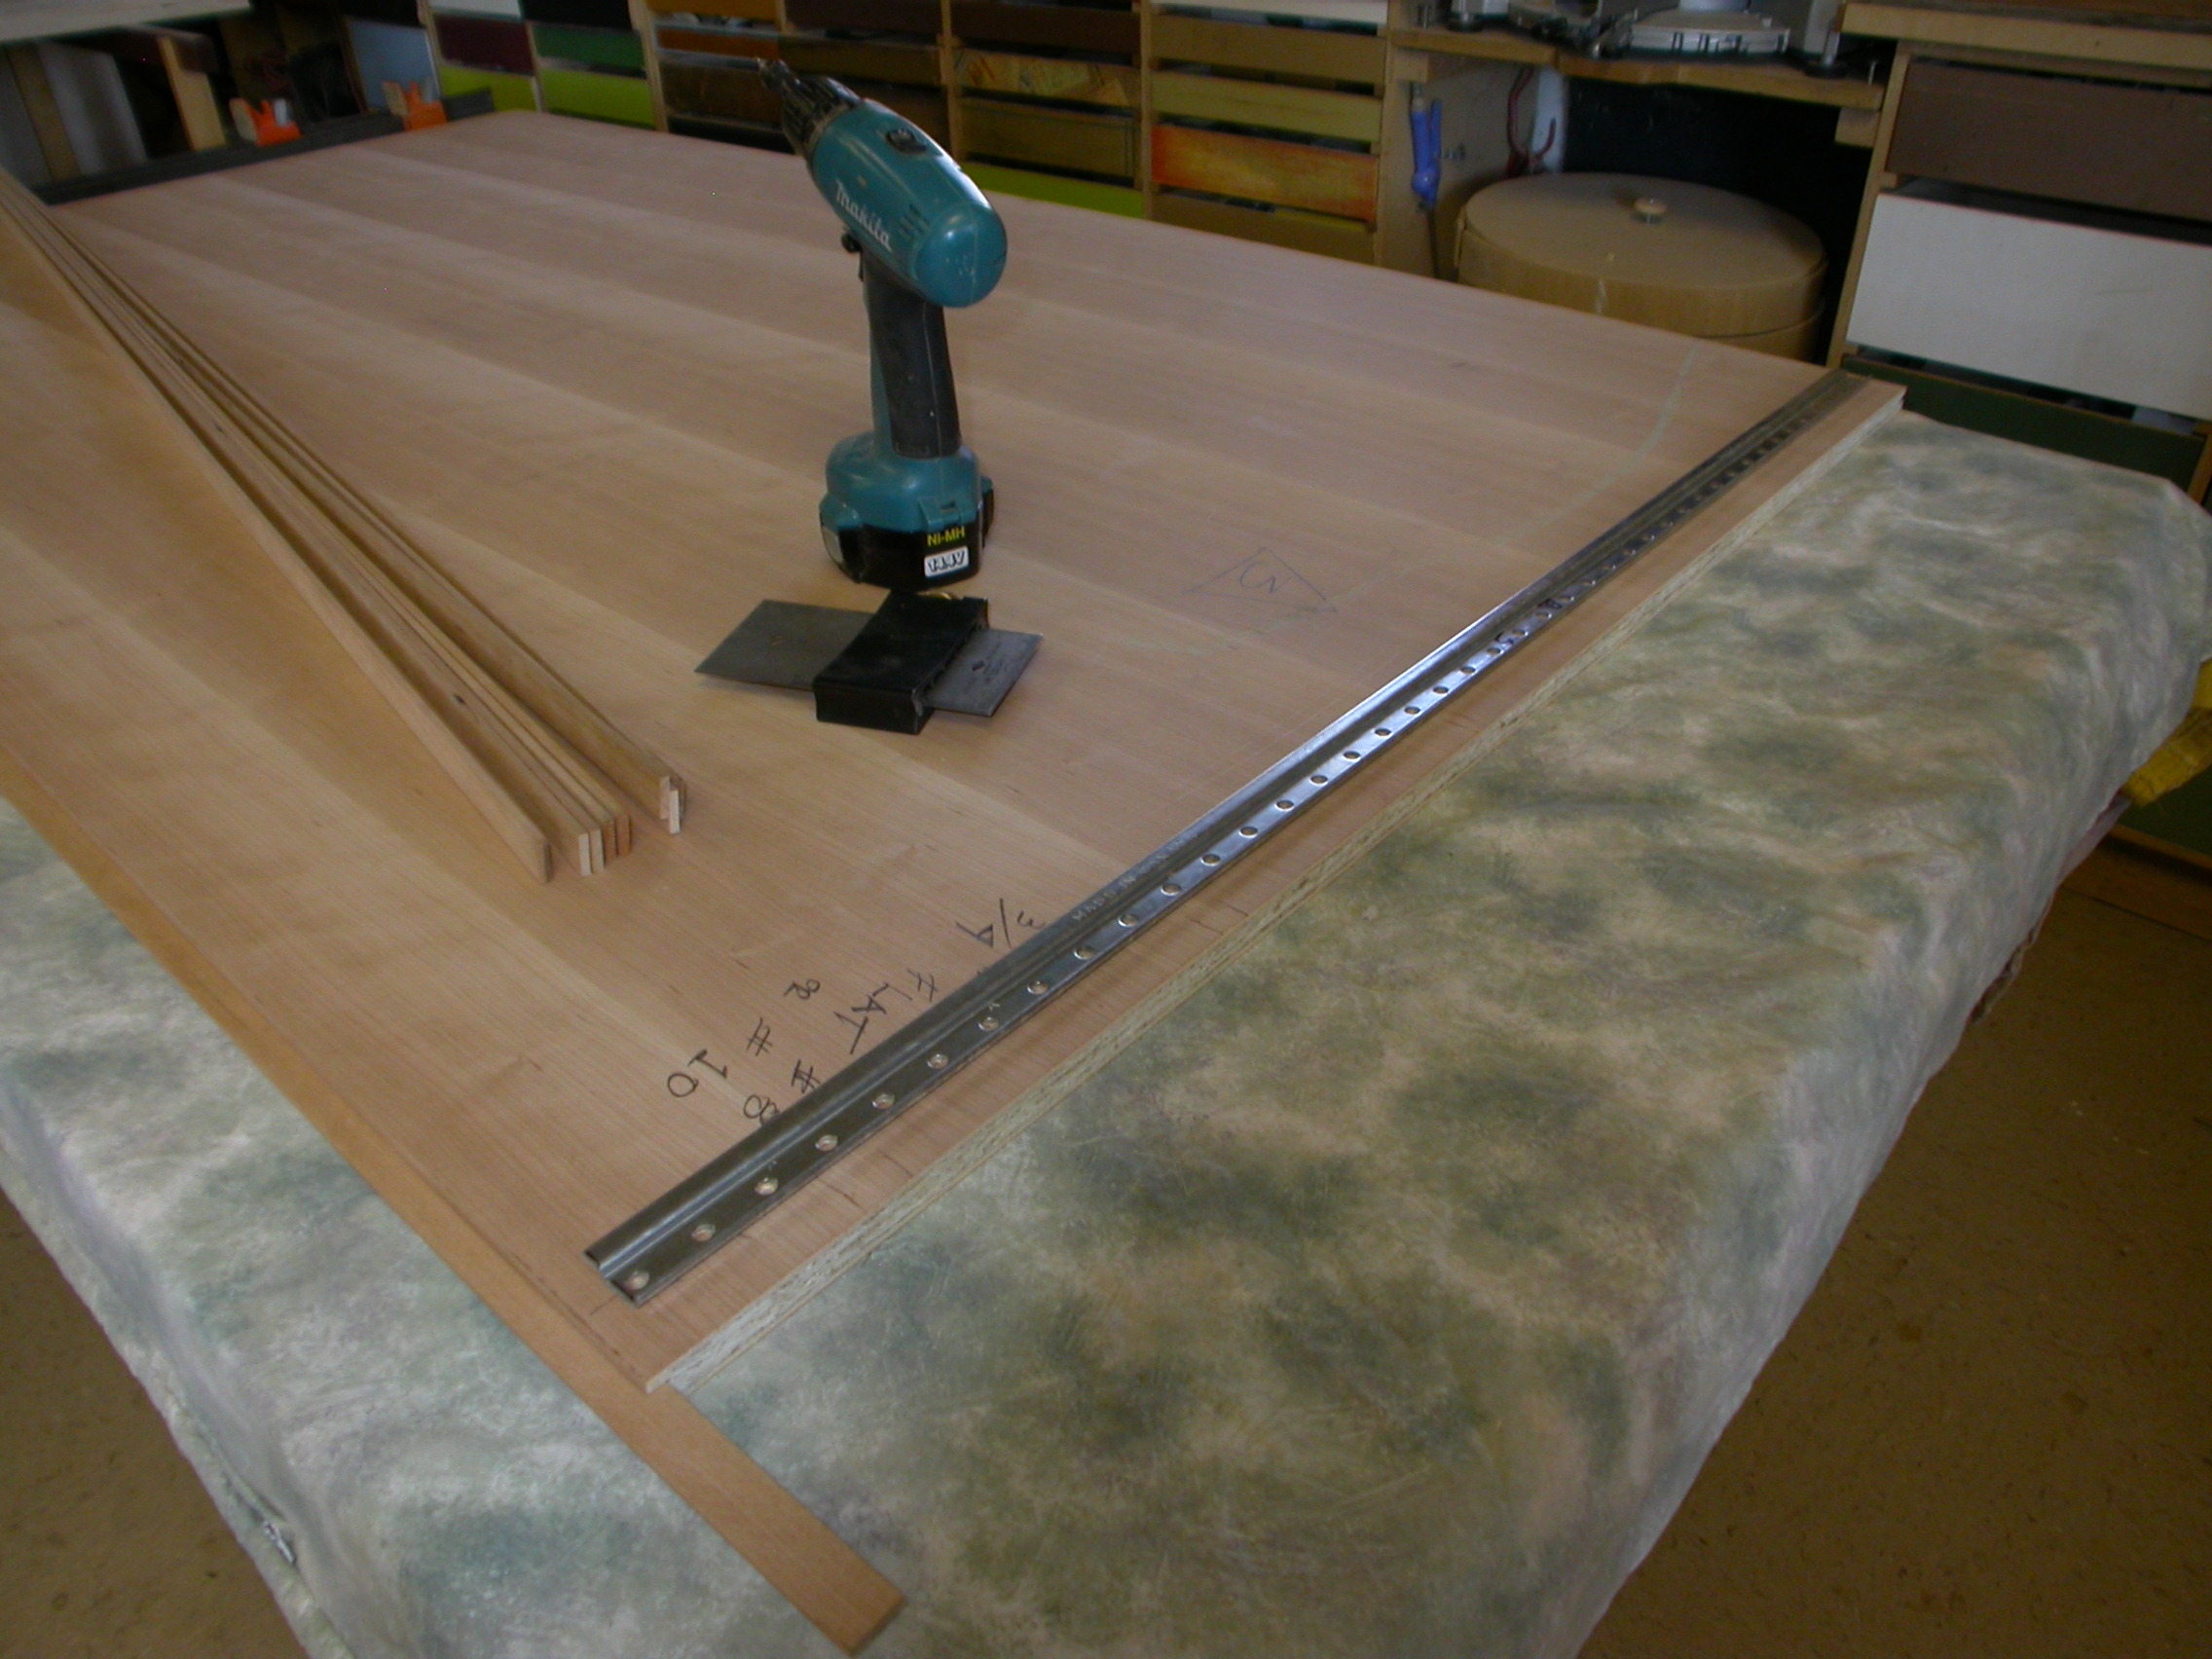
8th: Pre-drilling for the rails which will hold the panels to the wall, without having to screw them in place – there’s some open wall on this project, so less opportunity to attach the wall panels without showing any fasteners. The rails are simply 2 identical metal pieces, which interlock with 1 mounted on the wall, the other on the panel back. Just gotta get them accurately lined up, this system has little adjustment. A spline is seen in place on the left.
All that remains is to sand the panels, and set aside for oiling…